Week 01: Project management
This week, we got first experience with Git and GitLab. We learned how to use GitLab for our documentation and documented the work results of our first week. Additionally, we worked on initial drafts for our final project.
Git is a widely recognized and extensively used Version Control System. What sets Git apart is that, during work, there is no constant need to save new versions manually. Changes are automatically saved. Additionally, new branches can be opened during work. Both aspects simplify the workflow and facilitate effective collaboration, especially in a team setting, as the work of other team members cannot be adversely affected by individuals.
In Fab Academy, we utilize GitLab for documenting our work. Therefore, our initial task was to either download Git locally to our computers or check if the program was already installed. Subsequently, we needed to establish a connection between our computer and GitLab. Below, I explain the steps I took.
Set up Git and start website
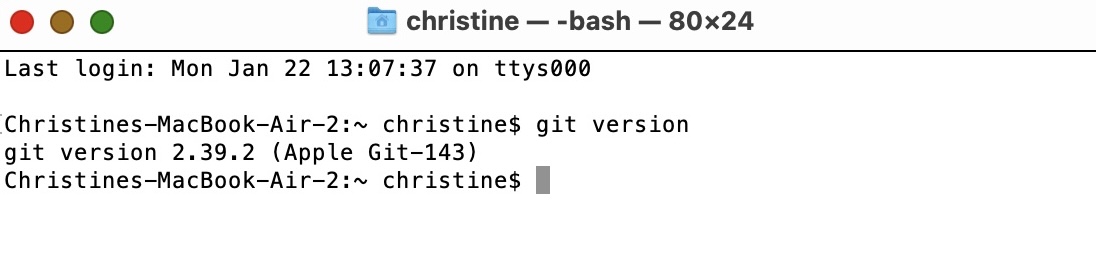 First, we needed to check if Git was installed on our computers. I opened my terminal and used the 'git version' command. Since Git was already installed, I could proceed to the next step.
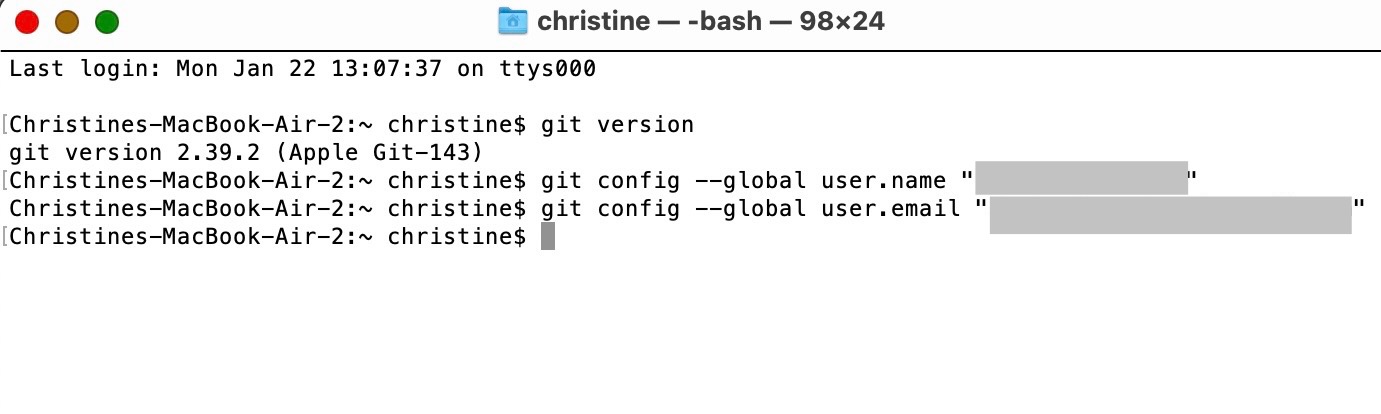 After checking, we needed to connect our repository with our username, email, and password.
 To finalize this process, we required an SSH key. I checked if I already had one, but I didn't. Therefore, I had to create a new key.
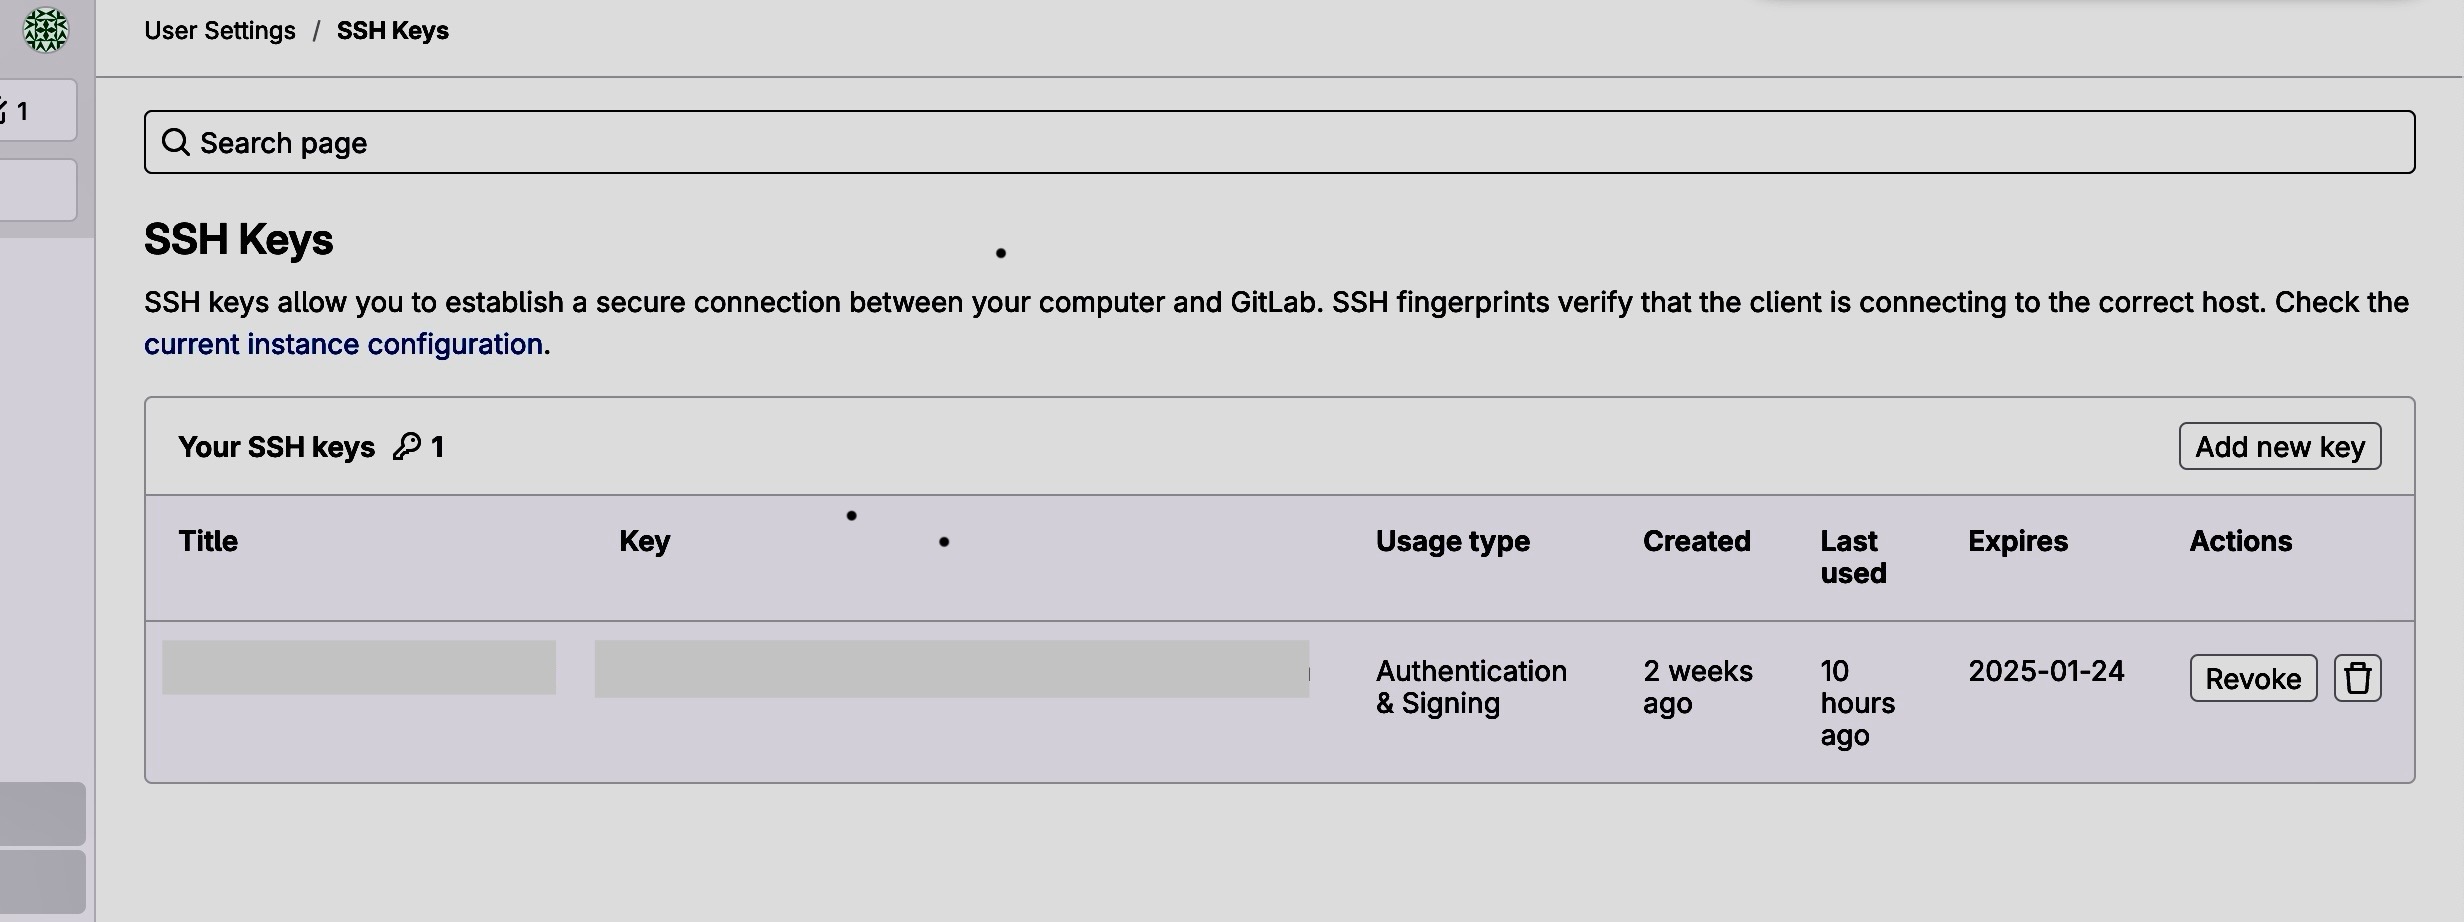 Then I had to go to my GitLab account and under 'User Settings,' I found the option for 'SSH Key.' I added my SSH key to establish the connection from my laptop to the repository.
 After that, I had to clone my repository and connect it to my computer. This process took some time because I made a mistake and accidentally cloned it twice at different locations on my computer. It wasn't easy for me to identify the mistake since I did it unknowingly. However, with the assistance of my local instructor, it finally works well.
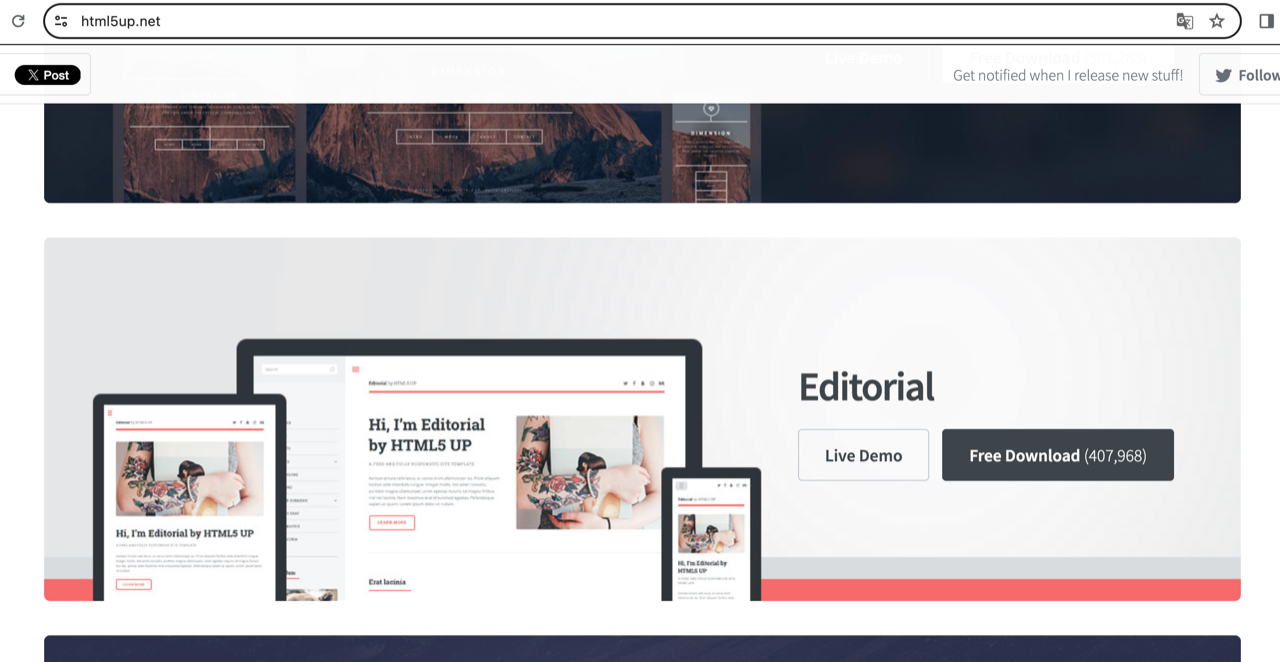 After cloning my repository, I explored the options for the next steps. It took me a while because I had never set up a website before. Ultimately, I decided to work with a template and found one on the HTML5 UP website that seemed quite useful. After downloading the files, I had to place them in my public Git folder on my desktop. I also opted to download and work with Visual Studio Code. It took me some time to grasp the basics, so I decided to watch a tutorial first. I found one on YouTube Introduction Introduction template that were helpful, and after that, I was able to progress more quickly.
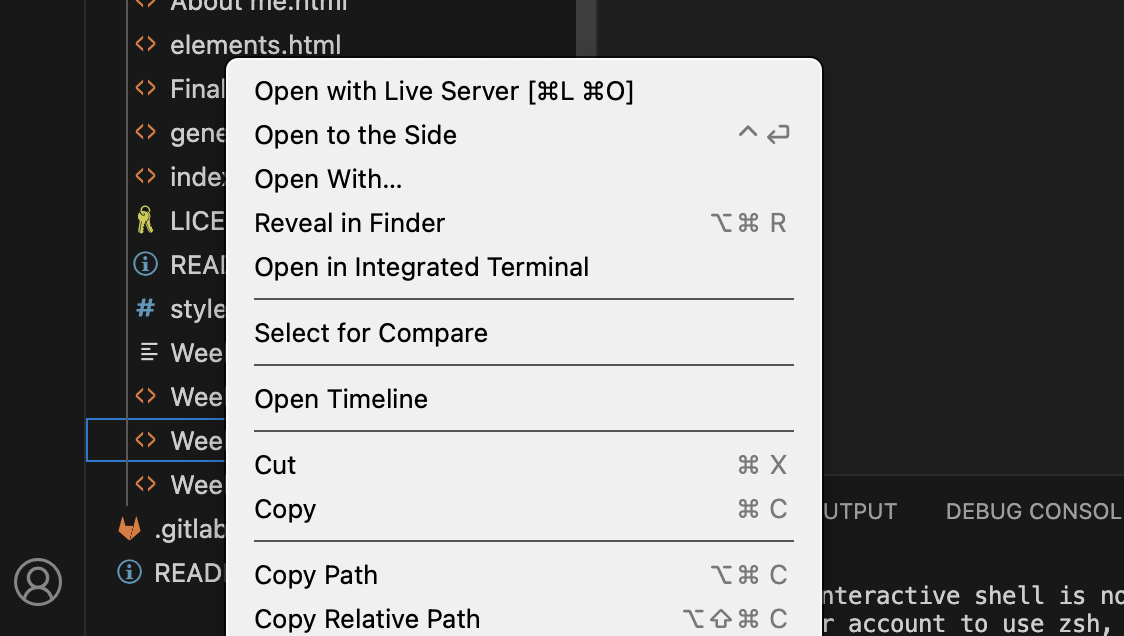 To use the template, I had to place it in my public folder or in "Visual Studio Code (VSC)." Both the public folder on my laptop and VSC contain the same information. Therefore, it doesn't matter where I put the file, as the information remains consistent. I began by editing the index page and made changes to some words in the template. To simplify my workflow, I downloaded the VSC extension "Live Server." This extension allows me to preview the page even before it is published online. All I have to do is right-click on the page and select "Open with Live Server." This feature was incredibly helpful for me.
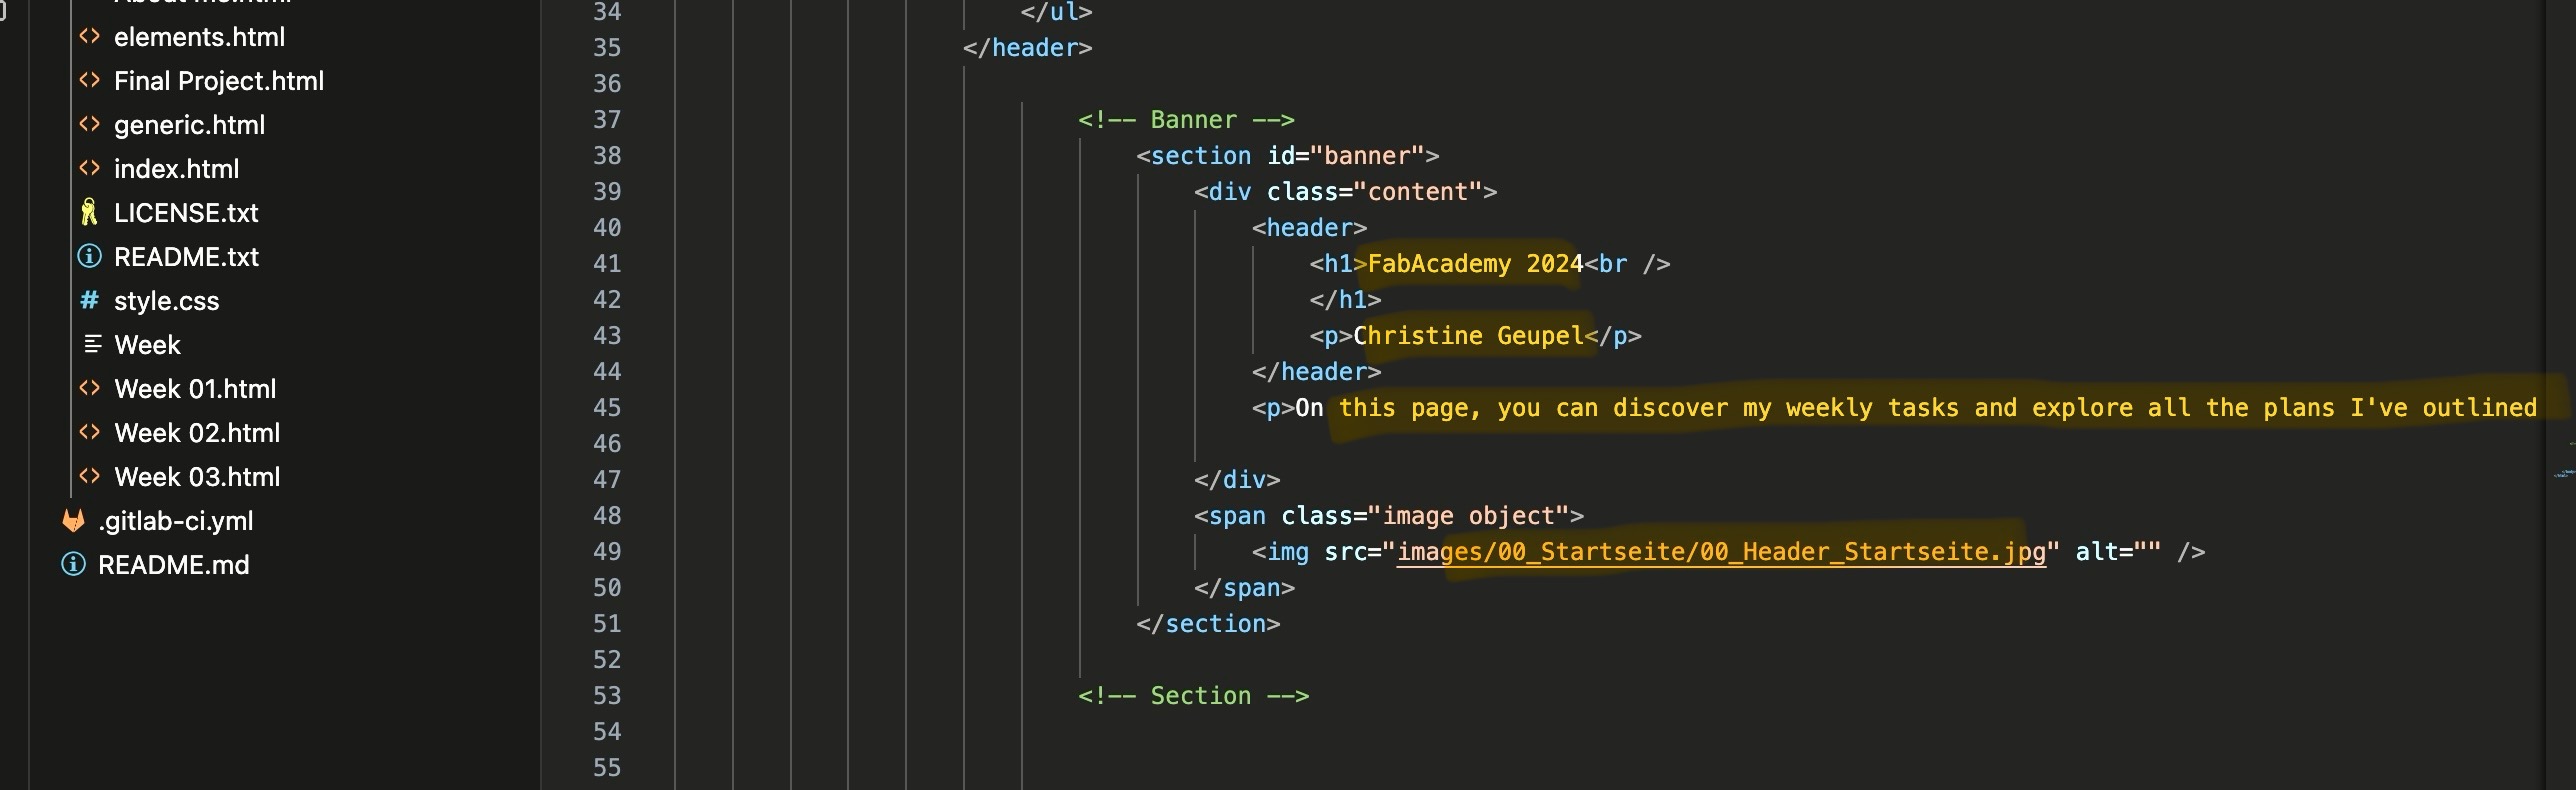 As I could observe that the changes were effective, I continued working. The templates significantly facilitated my work; I didn't have to redefine spacing and sizes but could instead choose and copy the appropriate elements. On the index homepage, I didn't alter the structure much; I only replaced the texts and images to personalize the page. To achieve this, I retained the HTML codes and merely overwritten the placeholder texts.
 Finally, I had to publish my content on the website. For that, I had to go back to the terminal. To publish something, you always have to follow the same process. First, check with the terminal if there are any changes. If so, add the changes, then commit them, and finally push them. It took me a while until it was totally clear for me, but now it works much faster.